Getting The
Loot/ Getting
Out
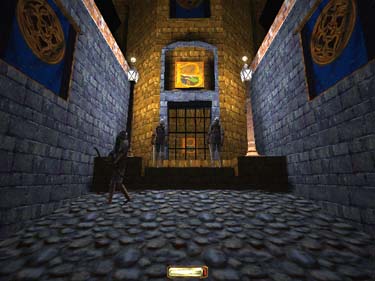
Once in the library at the
North end of the hall. Grab
the tiara (75 gold/50 gems = 125) on the
table to the right if you
haven't already, then head
out the door at the other end
of the room. Continue West
down the walkway until you
pass a staircase on your right,
then follow the hall West
past a second set, turn the
corner and enter the first
room on the right (beware
the patrol). Go up the stairs
and loot the last chest on the
right for some coins (12 gold).
The rest contain junk.
Backtrack out to the hall,
turn right and pass the spiral
stairs on the right. Up the
stairs in the next room is a
crate with more coins (12 gold).
Go back to the hall, make a
left, go around the corner,
and back to the second
staircase on the left and
follow the round rooms
around to the North wing
(check your map), stopping
to loot the chest in the
second room for a gold
bottle (50 gold). From the North
wing, go right thru the West
door and make another left,
grabbing the coins on the
table (12 gold). Go back out and
head South through the art
room.
You are now in the South
wing. Through the Western door
to the right is a bench with a
chalice (15 goods). Go back out
and head North through the art
room and across the North
wing. Go up the stone path,
flip the switch for the gate on
the right wall, and hit the
streets.
There is a way to
collect all this by using the
spiral staircase out front, but
it's almost impossible to do
it covertly. If you plan to use
this method, thus alerting the
guards, make sure to flip the
gate switch in the North
wing first, or they will kill
you while you're waiting for
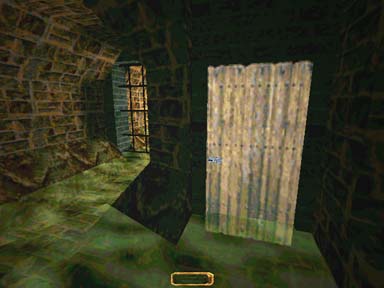
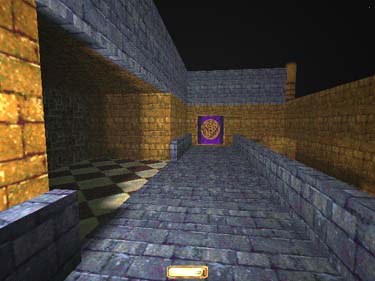
the gate to rise). Follow the
rooms around, stopping to
loot the chest in the second
room. Following the stairs
will bring you into the
North wing. Take the first
doorway to the right, onto
the carpeted hall. You will see
a stone walkway. Look for
the switch on the right which
will open the gate (figure 9),
taking you back to the
streets.
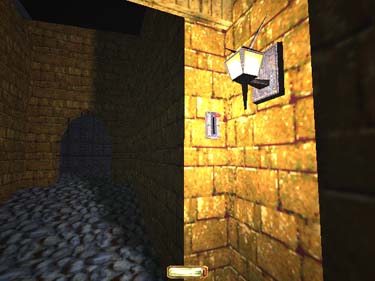
Figure 9
For a little extra fun on this mission, see if you can get all the guards to chase you around, then lead them out the front gate and lock them out. You'll need a lot of healing potions, but there's nothing funnier than a garrison of angry guards shaking thier fists and threatening you after they've been duped.
Travel to: Keepers' Chapel / Strategy Index / Thief-TheCircle.com (home) / Go Back