9)Killing all the Haunts
|
|
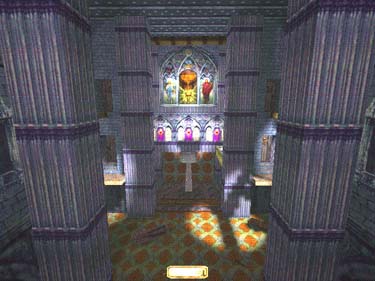
Fig. 11
|
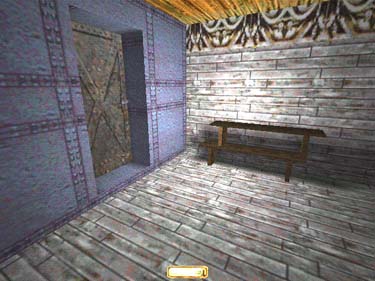
Unfortunately, there is no way to kill
Brother Murus (without re-configuring the
game...), and he holds the key to the Armory,
which contains an explosive device you will
need to get out. We will complete these tasks
according to location, rather than the order
listed above.
While Murus is talking to you, grab the two
bodies and drop them past the broken staircase
to the right (the Cloister). Meet Murus here
for your first task. (After completing each
task, make sure to return to Murus so you can
trigger instructions for the the next one.)
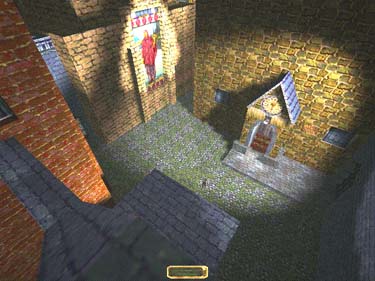
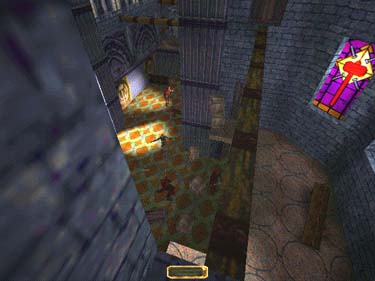
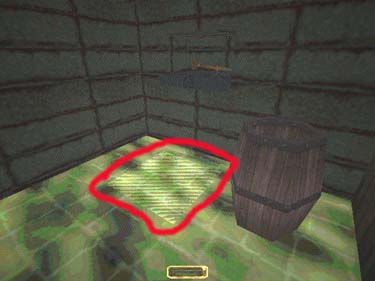
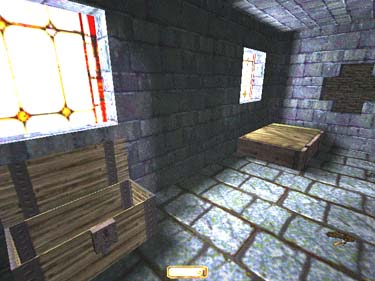
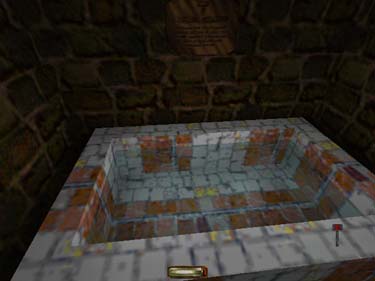
Rosary/ St. Yora's
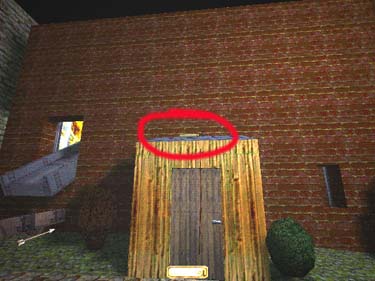
Pass Murus and go left up the stairs to St.
Yora's (fig. 12). Take a right inside and upstairs
to the altar room. Grab the 3 water arrows on
the altar and go thru the next room into the
room w/ bunk beds. Go left to the wooden
door and North in the hall to the last door on
the right, thru the first room, and grab a purse
(100) from the crate in the second room.
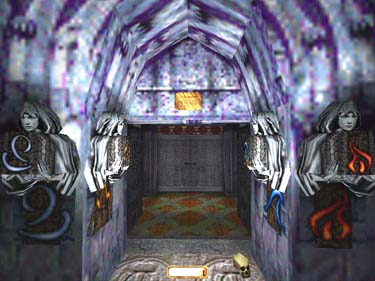
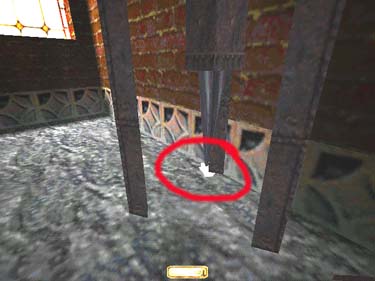
Back in the hall, go South to the last door on
the left. The Rosary is in the crate (fig. 13).
|
|
|
Fig. 12
|
Fig. 13
|
Leave the room, take the next hall on the
left and pass the broken door in the floor. Go
left down the stairs and pass the first hall on
the left. Go into the office on the left and grab
the purple vase (100 goods) on the shelf. Go
back to the hall on the right and to the dining
room. There are several zombies here and a
patrolling Haunt. The chamber to the
immediate left has a gold plate (50 gold -
where the zombie is standing), and there's a
healing potion on the table in the middle of
the room. Go to the kitchen in the North for
a gold plate (50 gold) behind the island and a
gold cup (25 gold -fig. 14) in the fireplace.
Rope up to the rafters for a fire arrow. Leave
the dining room to the left/East and go back
to Brother Murus in the Cloister.
|
|
Fig. 14
|
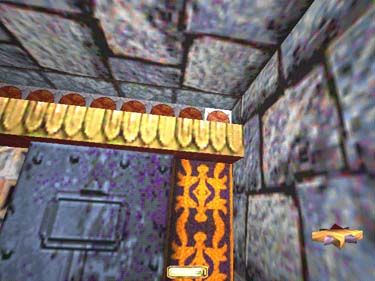
Holy Symbol/ St.
Tenor's Factory
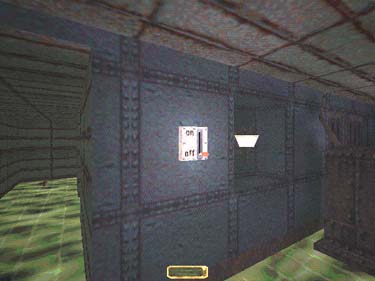
Go East into the Cloister and left to St.
Tenor's (the brick building). Go thru the foyer
and left in the hall. In the smith room, grab
the last mold on the bottom right (the
hammer - fig. 15), and place it in the slot. Pull
the left lever, then the right lever. Once
finished, pull the left lever again and grab the
hammer (fig. 16 - instructions on the wall).
|
|
|
Fig. 15
|
Fig. 16
|
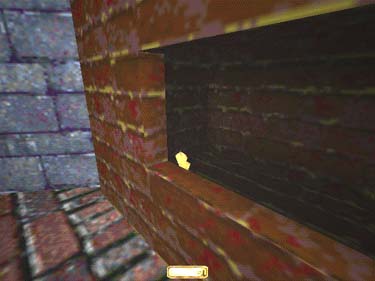
While you are in St. Tenor's you should
retrieve the candle Murus will ask for later. Go
North to the metal stairs and around to the
three legged machine. Grab the silver nugget
(50 gold) behind the far leg (fig. 17), and
proceed around the corner and up the metal
ramp. At the end of the walkway, jump onto
the chute and go into the workyard. Rope up
to the top of the shed and get a purse (100
gold) and the candle (fig. 18). Go right past
the chute, climb the ladder and head
right/South back to Brother Murus.
|
|
|
Fig. 17
|
Fig. 18
|
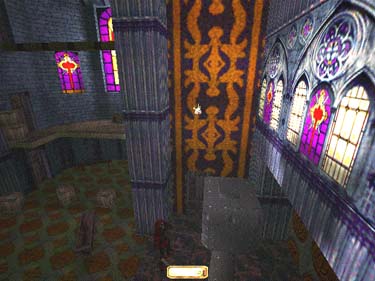
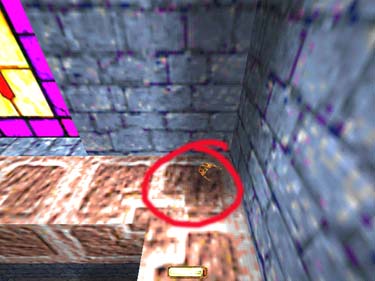
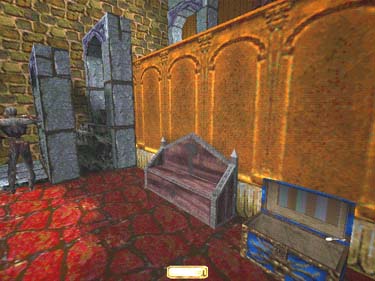
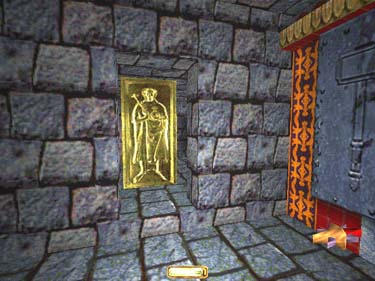
Prayer Book/ St. Jenel's
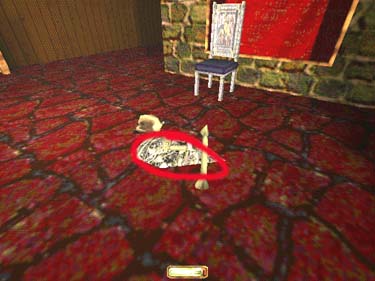
Go East into St. Jenel's. The counting room
on the left has a stack of gold coins (25 gold),
the main room has a gold hammer (75 gold)
in a pile of bones (fig. 19). Call up the elevator
and go to the room on the left. Grab the
cemetery key from the blue box (fig. 20) and
the goblet (50 goods) from the table.
|
|
|
Fig. 19
|
Fig. 20
|
Take the elevator down to the confessional
room. The third booth on the right has a
zombie and a gold hammer (75 gold), and
there are 3 moss arrows to the right of the
altar. Pick the door to the left of the altar and
climb the stairs to the observatory, stopping to
grab the moss arrow and fire arrow on the first
landing. Throw the holy symbol you made
in the factory (the hammer) into the Lunar
pool to bless it (fig. 21), then take it back out
and head downstairs.
|
|
Fig. 21
|
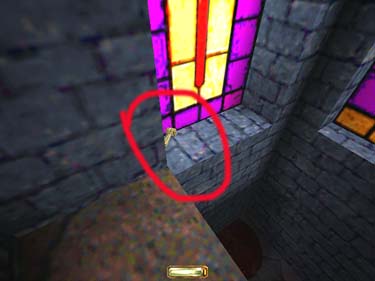
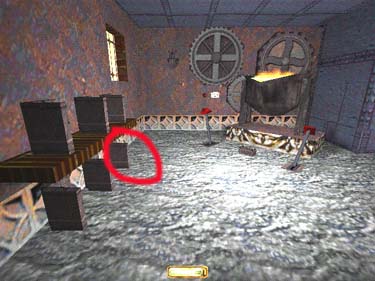
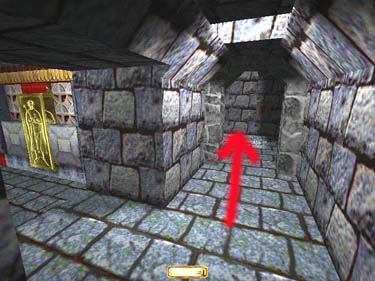
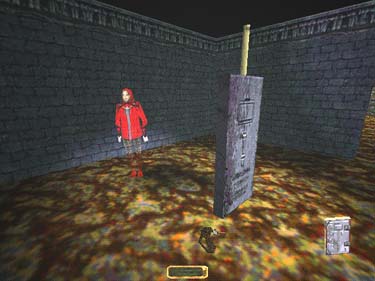
Go down the Northwest ladder into the
Winter tunnels. Follow the tunnels, going
right at the split, and into the room with the
wall monument. Stand on the steps to the
right, and look into the top right corner at the
last orange circle near the ceiling until it
highlights (fig. 22). It opens a secret
compartment on the left side of the room
(fig. 23)(Renault or Martello will reveal this to
you later).
|
|
|
Fig. 22
|
Fig. 23
|
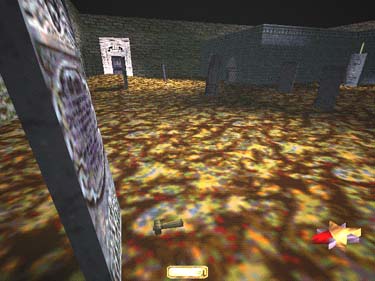
The compartment should contain 2 moss
arrows, a mine, 2 water arrows, and a vial of
holy water. Leave the room to the East and
make a left/North and use the elevator (fig.
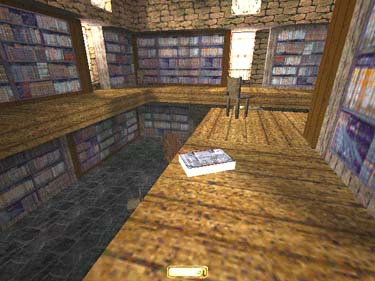
24)to get to the library. Beware the Haunt that
patrols here and grab the prayer book (fig.
25) from the East ledge.
|
|
|
Fig. 24
|
Fig. 25
|
Take the elevator back down, pass the
memorial room on the right, take the next left
and head South to the split. Go right/West to
the Alchemist cellar on the right. There's
another Haunt on patrol here. Grab the silver
nugget (50 gold) on the left shelf, the gem
(100 gems) on the right shelf, the holy water
vial in the box, and the healing potion to it's
left. Go out and turn right to the elevator.
There are 3 water arrows in the pool. Go out
the East door, turn left/North and go out the
gate and West back to the Cloister and Murus.
Cemetery
Finally time to be rid of Murus (or so you
think). Go back thru the Cloister and continue
North, using the key from St. Jenel's to open
the cemetery gate. Go straight through the first
yard and turn right. Head for the archway and
you'll see Murus by his tombstone. The ritual
(fig. 26) should consist of the following:
- 1)Touch the Rosary to the stone
- 2)Place the Candle on the stone
- 3)Read the Prayer book
- 4)Touch the Holy Symbol to the stone
|
|
Fig. 26
|
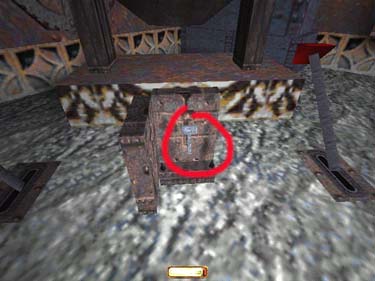
When you're finished Murus will ask you to
bury Brother Renault and Brother Martello.
You should have their bodies nearby in the
Cloister, so this won't take long. Before
heading out, go to the headstone in the
northwest corner of this yard and grab the gold
hammer (75 gold fig. 27) in front of it. Bury
Renault in the East yard (fig. 28).
|
|
|
Fig. 27
|
Fig. 28
|
There is another gold hammer (75 gold -
fig. 29) at the stone directly South of his. Bury
Martello in the North yard (fig. 30). Now if
you've killed all the Haunts, you have to get
out.
|

|
|
Fig. 29
|
Fig. 30
|
Getting Out
Grab the armory key from Murus (fig. 31)
and head back to the Cloister. Mantle up the
broken staircase (if you have too much
trouble w/ this, you can go back thru St.
Yora's). There's a water arrow in the Southeast
pool if you need it. Take the stairs in the
Cathedral to the third floor and unlock the
armory door. Grab the fire arrow and the
explosive device (fig. 32), then head back
Northeast thru the Cloister (to the right of the
stained glass window).
|

|
|
Fig. 31
|
Fig. 32
|
Go to the gate and plant the device against
the Cloister gate (fig. 33), then nail it w/ a fire
arrow (fig. 34). Home free.
|
|
|
Fig. 33
|
Fig. 34
|
Travel to: Keepers' Chapel / Strategy Index / Thief-TheCircle.com (home) / Go Back