"For The Amount I'm
Getting Paid, I'm Willing To
Take Some Serious Risks."
TABLE OF CONTENTS
1) Rubin
Street
2) The
Burrick Caves
3) Rubin
Street (cont'd)
4) Deperin
Street
5) The
Serpentile Torc
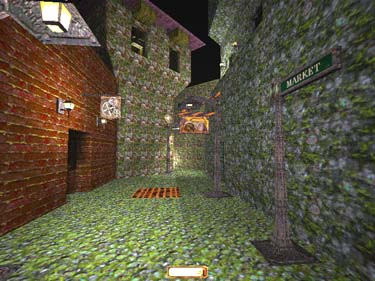
6) Market Street/Watchman's Grave
7) The Sewers
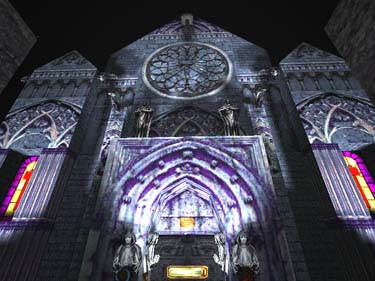
8) Cathedral Street
9) The Grotto
Objectives:
- Find the Cathedral
- Locate and Steal the
Serpentile Torc
- Leave Coins on the
Watchman's Grave
Loot Requirements: 2000
Loot Available: 2635 (2835 in
Normal)
Loot Accounted For: 2635
For Complete Loot Locations, go to the Loot Map.
For Hints and FAQ's, go to the Secrets Page.
Notes:
1) There are several ways to the Catherdral.
This walkthrough shows the easiest route in
terms of collecting maximum loot.
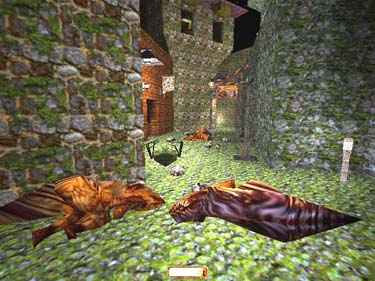
2) Don't buy the 'tip' in the loadout. It
essentially tells you to dispose of enemies by
bringing them together to let them battle it
out. There is one major opportunity to do this
in the Market Street section, so avoid as many
enemies as possible until then.
3) You will be given directions to each light
station, however some areas are easier to loot
with the lights out (particularly if you are
playing total stealth style and don't want to
deal any damage).
4) Save at least 3 fire arrows for the Keeper's
Grotto at the end of the mission.
Rubin Street
Lights are in the building on the immediate
left. Around the fallen tower on the right is a gold plate (50 gold) on the ground
underneath. Now let's do a lap around the
immediate area to load up on loot and
supplies. Head East to the black door on the
right. Inside on the floor are 12 braodheads.
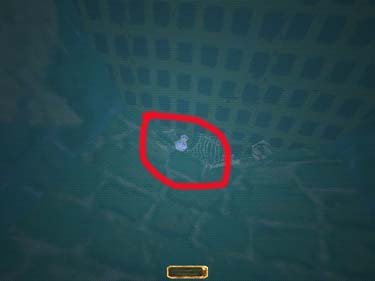
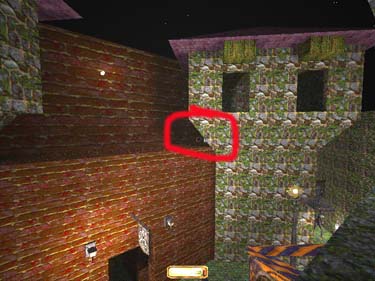
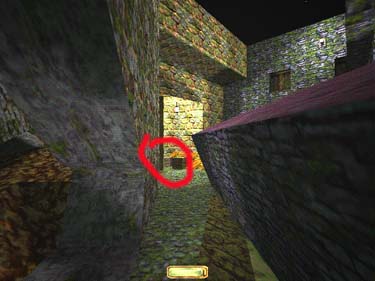
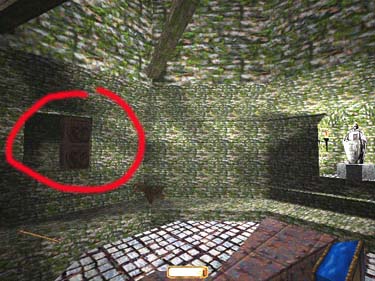
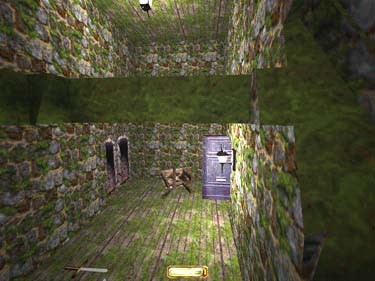
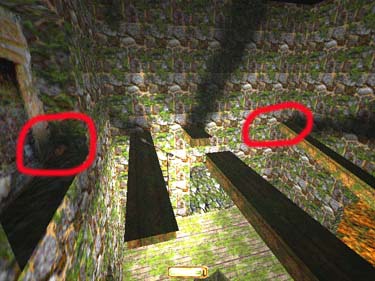
Climb the broken wall and jump/mantle to
the left for 2 flashbombs and 2 mines in the
crates (this is a tough climb - Stand as shown
in fig. 1 and jump/hold to mantle up). On the
other side, jump out of the window and head
North up the board for moss arrow on the
ledge (there is typically a zombie and a spirit in
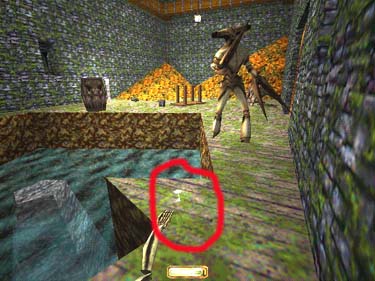
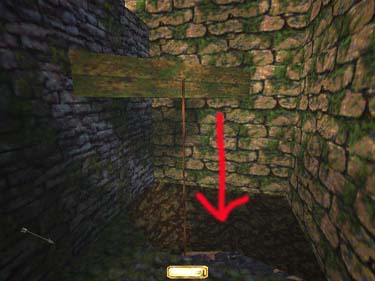
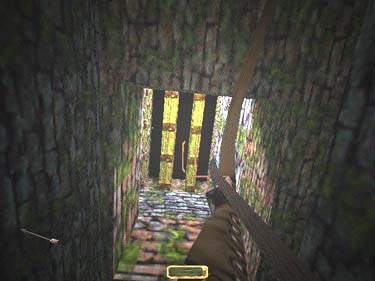
this area). Go thru the doorway on the
left/West, thru the room w/ the hole in the
floor and take the right passage to the back
room with a jeweled cup (15 goods) on the
overhead beams (fig.1). Back to the room with
the hole in the floor, drop thru the hole for a trip into the Burrick caves.
|
|
|
Fig. 1
|
Fig. 2
|
The Burrick Caves
Beware of the Ratman in this area. The first
tunnel on the right leads to a brick room w/ 2
water arrows at the back. Leave thru the right
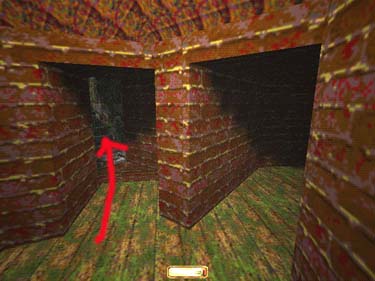
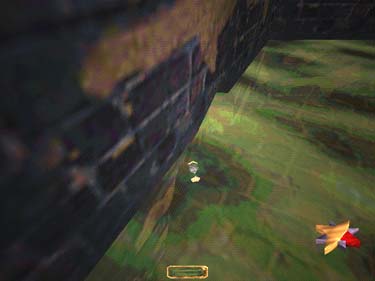
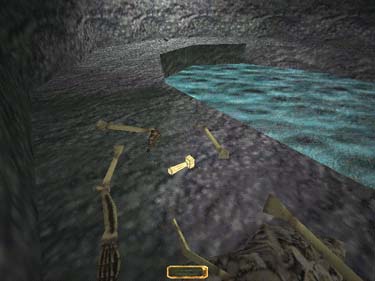
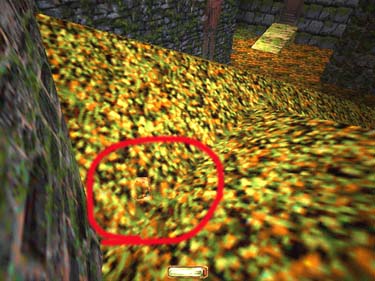
/northwest passage and emerge in a room w/ a
pool. Around the pool you'll find 2 moss
arrows, a gold hammer (75 gold) (fig. 3) and
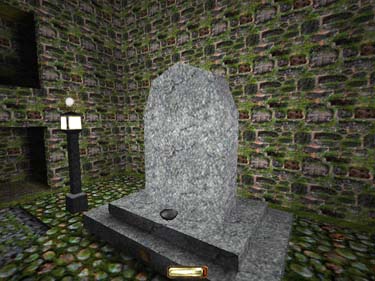
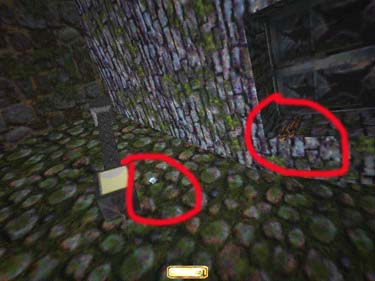
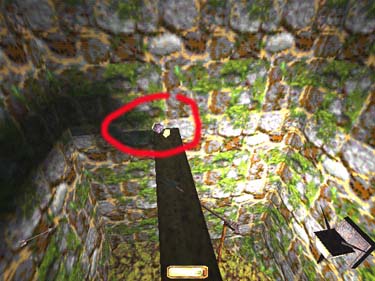
2 water arrows in the pool. Back to the brick
room and out the left passage, take a right at
the intersection and go thru the room w/ the
wooden floor grabbing the gold cup (25 gold)
(fig. 4).
|
|
|
Fig. 3
|
Fig. 4
|
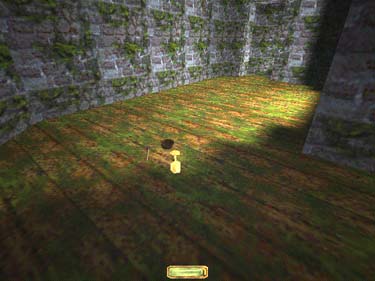
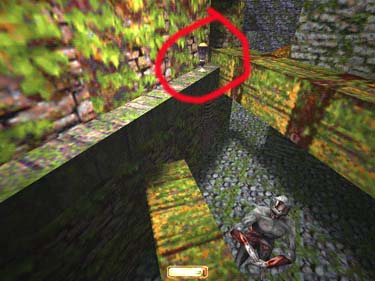
In the big cave, look in the corners to find a
purse (100 gold), a jeweled cup (15 goods), a
gold cup (25 gold), and a vase (100 gold).
Between the pillars find a key (to the lightgrid on Cathedral street), a rope and a noisemaker arrow. Go East back to the room w/ the hole in the the ceiling and rope up.
Rubin St. (cont'd)
Above on the beams is a gem (100 gems), and a gold cup in the West window sill (25 gold) (fig. 5). Go thru the left/South doorway and up the plank. There's a teal goblet (50 goods) under the pipe on the left and a healing potion on the ledge (fig. 6). Jump back down to Rubin street, and head North then left/West at the first ground light. Pass the fallen boards
on the right and go up the ramp to the North.
|

|
|
Fig. 5
|
Fig. 6
|
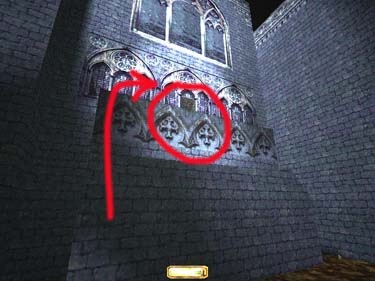
DePerin St.
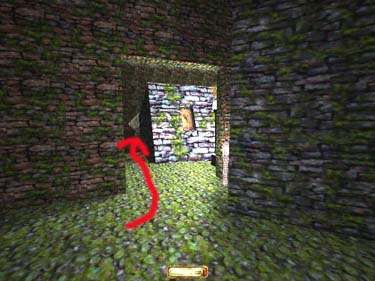
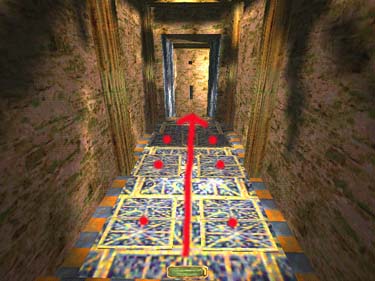
(You can run ahead North and turn the
lights on if desired). At the top of the ramp
take the doorway to the right just after the
wagon. Rope up (fig. 7) and follow the passage
for a vase (100 goods) and a noisemaker.
Outside, go up the ramp to the West. There are
usually a few zombies and a spirit here). Grab
the healing potion behind the barrels to the
North. The room to the South around the wall
has a mine laying about 1 foot inside the door, so step around it. The room contains 2
noisemakers, 3 flashbombs, and in the crate 3
mines, and 3 rope arrows. Go out the door
(watch that mine!) and straight across North
to a small ramp leading to a room w/ 3 fire
arrows in the right wall niche, and a breath
potion in the blue box. Outside, go West to
the wall and look between the two leaf piles
for a tiarra (75 gold/ 50 gems- look close)
(fig. 8).
|
|
|
Fig. 7
|
Fig. 8
|
Go back out to the main street and head North from the DePerin sign. The lights are on the right, near the patrolling Burrick . At the dead end (at the waterway) turen right and jump onto the machine, then mantle to the ledge and throw the swith on the left, opening the door on the right up the ladder (fig. 9). It
contains 2 fire, 2 water arrows, and a breath
potion.
|
|
|
Fig. 9
|
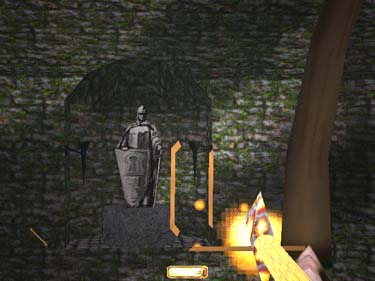
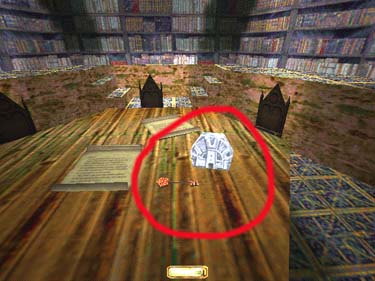
Although you can reach Market Street from the water here, it is more lucrative to stick to the streets. Go back past the light swith on the left and turn left/West at the fallen DePerin
sign. Duck under the leaning tower at the
ground lamp on the left. You'll come to an
open door on the left w/ a breath potion on
the second floor (fig. 10). Keep going East
thru the break in the wall and thru the next
door on the left. Up the ladder and on the
rafters in the next building is a gold plate (100 gold) . There are usually a collection of
zombie's and spirits in this area. Outside,
continue South to the Rubin St. sign, then
left/East. Go thru the first door on the right
and up the plank for a purple vase (100 goods)
and 2 water arrows on the far plank. Go out
and continue right/East, taking the next right
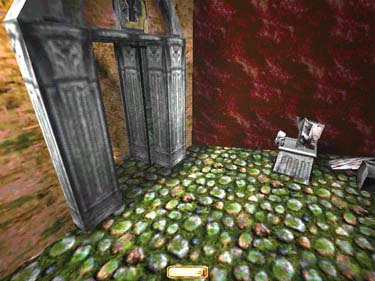
at the Cathedral St. sign. Grab the gold vase
(100 gold) in the barber shop. Back at the
street sign, go right/East. The next door on the right houses the light switch for this area, and an alternate entrance to the sewers/Burrick caves. Go around the leaning building heading North. Grab the purple goblet (50 goods) from the cross beams near the odd machine on your left (fig. 11) . Go thru the North doorway in the next alcove and thru the door on the left for a gem (100 gems) in the
second wall niche. Go outside to the closed
drawbridge.

|
|
|
Fig. 10
|
Fig. 11
|
|