"They Say The Best Place To Hide A Letter Is On The
Mantlepiece...With That In Mind, I'll Be Going In Through
The Front Door..."
TABLE OF CONTENTS
1) Entry/ The
Wallbuilder's Prayer
2) Downstairs
3) Catacombs
4) Basement
5) Remaining Switches
6) The Talisman(s)
7) Getting Out
Objectives:
- Find & Steal Earth
and Air Talismans (Air Talisman only for Gold edition)
- Steal First Hammer
from Reliquary
- Don't Kill Anyone
- Return to the City
Loot Requirements: 2000
Loot Available: 2758
Loot Accounted For:2758
For Complete Loot Locations, go to the Loot Map.
For Hints and FAQ's, go to the Secrets Page.
Note:To avoid raising suspicion before
grabbing the talisman's, some of the more well
guarded loot will have to be obtained during
your escape, most notably the gold hammer in
the foyer, and the gold hammer on the main
altar.
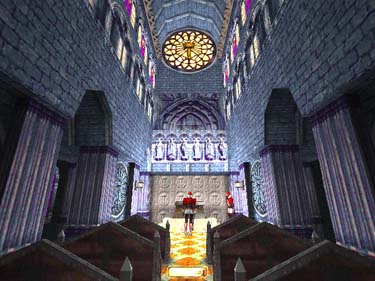
Entry/ the Wallbuilder's
Prayer
Present your scroll at the gate and continue
North thru the foyer (note the gold hammer),
and through the North door into the
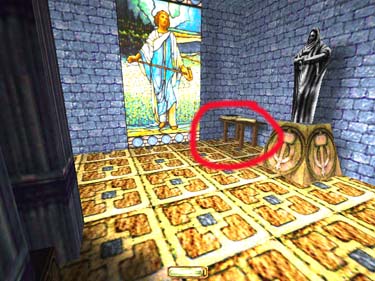
causeway. Take the first door on your right and
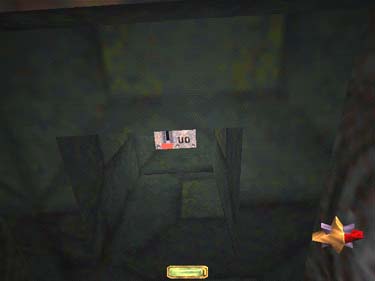
grab the Wallbuilder's Prayer papyrus from the
table (fig. 1). Go out the East door of this
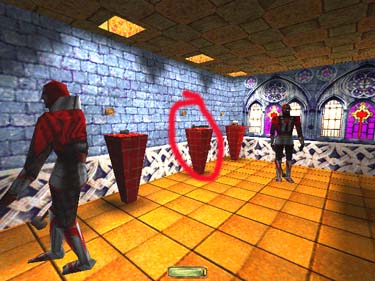
room and around to the reliquary. Note the
switch behind St. Yora's skull, and the First
Hammer on the middle pedestal (fig. 2 - don't
do anything with these yet).
|
|
|
Fig. 1
|
Fig. 2
|
Leave the reliquary thru the West door and
cross thru the main chapel (there is a gold
hammer on the altar to your right that you
can grab after getting the Talisman's).
Continue West to the Library and pick the lock
on the wooden door. Inside are two gold
bottles (100 goods ttl). The crate has the
locations for the switches but you'll have to
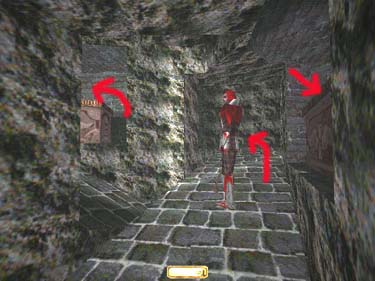
have a key to open it. The five switches are
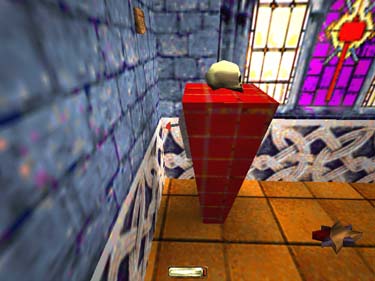
located:
1)On this level: Behind St. Yora's skull in
the Reliquary (fig. 3).
|
|
Fig. 3
|
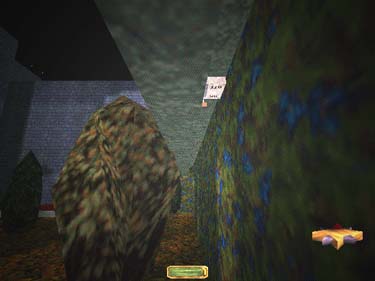
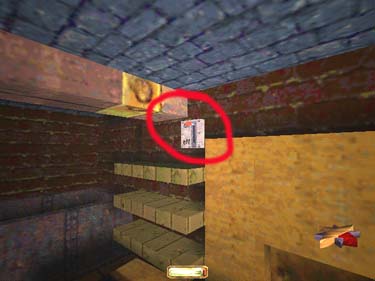
2)Downstairs: 1 in the garden (fig. 4),
and 1 in the graveyard (fig. 5).
|
|
|
Fig. 4
|
Fig. 5
|
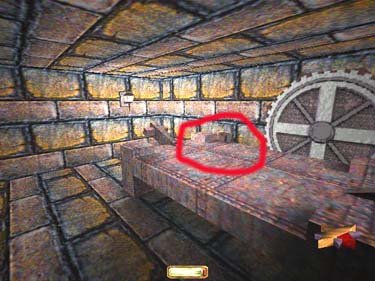
3)Basement: 1 in the old kitchen (fig. 6),
and 1 in the Inquisitor's chambers (fig.
7).
|
|
|
Fig. 6
|
Fig. 7
|
All five switches must be thrown within five
minutes of one another. First go back to the
causeway and down the main staircase and
collect your loot.
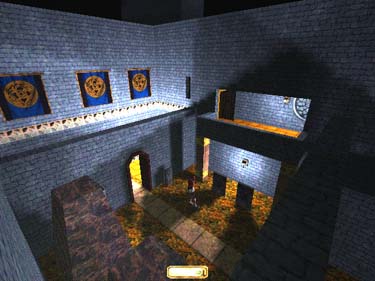
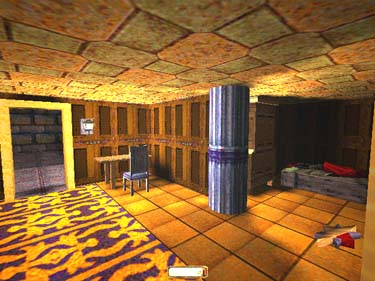
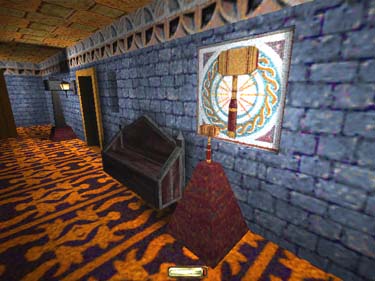
Downstairs
At the foot of the large staircase (fig. 8) go
South down the hall to the High Priest's room
on the right (there is a Hammer mosaic and a
small window - fig. 9).
|
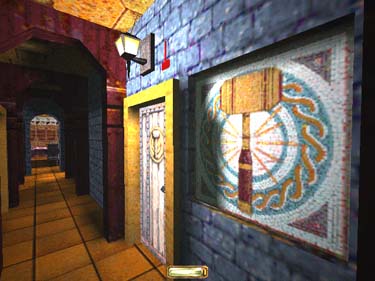
|
|
Fig. 8
|
Fig. 9
|
Hit him w/ a gas arrow, or sneak thru the
room and grab the gold bottle (50), the
hammer on the pedestal (fig. 10), and the gem
(100). In the back room you'll find another
gold bottle (50), a key and a gold hammer
(75). You should be able to get into the other
rooms w/ the key.
|
|
Fig. 10
|
Start In The Northeast Corner
- First room on left: Key, crate with purse (100
gold)
- Second room on left: Tiarra (75 gold/ 50
gems), gold bottle (50 goods) in crate.
- Skip the priests room
- 3rd room on left: Key, healing potion
- Go South to the dining room and grab 3 gold
bottles (150 gold ttl).
- Go thru the kitchen
and head North down the hall.
- Second room on left: Key, gold cup (25 gold)
- Last room on left: purse (100 gold) in crate
Head back toward the dining room and take
the East stairs down to the storeroom.
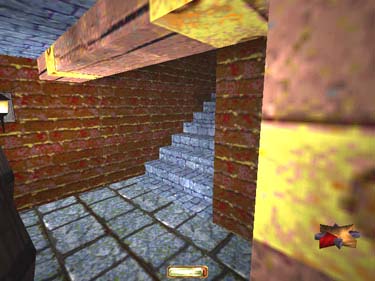
The Catacombs
Go north to the sparring room, west down
the stairs and around the hall. Go right at the
bottom of the ramp and go right at the next
four way intersection. You'll come around to a
hammerite that you can gas (fig. 11). Grab the
vase (100 gold) behind him - pass him and get
the vase (100 gold) to the north. Double
back and take a right/west and grab the vase
(100 gold) in front of the hammerite.
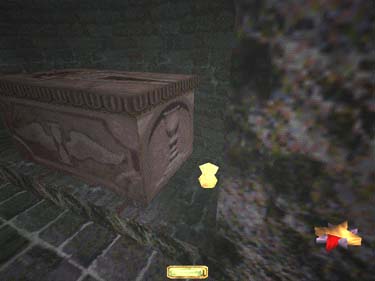
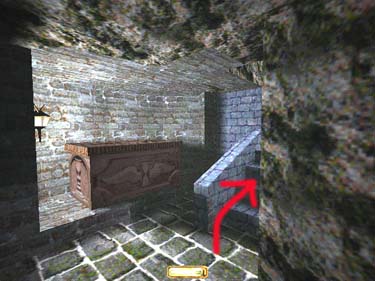
Continue west, then south in the hall. Take the
next left, grab the vase (100 gold) fallen
behind the coffin (fig. 12) and get the vase
(100 gold) at the on the east ahead. Turn
around and go north up the hall to the first
right, then to the stairway on the left (fig. 13)
and up to the Basement storeroom.