
"Looks like the consequences of my occupation have finally caught up with
me..."
Other Level Resources:
-
Loot Map - Go here for a complete listing of
all the loot locations.
-
Secrets & FAQ Page - Go here for pictures
of all the secrets in this level, as well as some frequently asked
questions.
-
Route Map - Go here for an overview of the
route that you will take through this level.
TABLE OF CONTENTS (click a topic to jump to that section)
- Pub Area
- Helena Way
- Home Turf
- Marketplace
- Shalebridge Road
Starting Objectives:
- Get back to your home
- Don't kill anybody
- Score at least 8 knockouts
Ending Objectives:
- Find your secret stash and the Shalebridge gate key
- Get to Shalebridge
Loot Information:
-
Requirements: None
- Available: 592
- Accounted For: 592
- Extra: Your take from the last mission is
also added to your total loot for this level (you'll find your loot
from the last level in your secret stash)
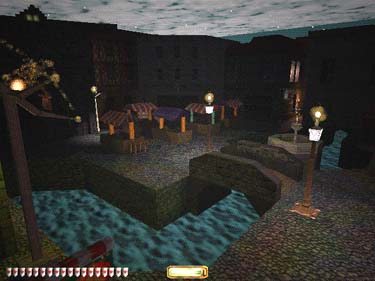
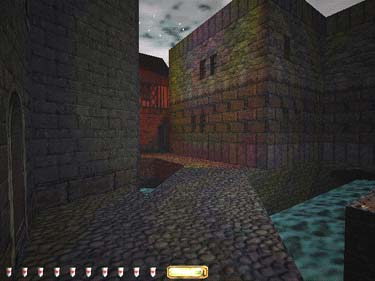
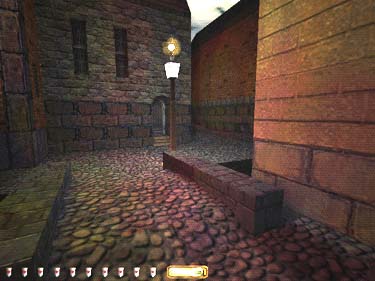
Pub Area
Quickly head to one of
the doorways across the
street, wait for the patrol to
pass, then go north toward
the two women. When
they're finished talking,
climb the crate and mantle
the wall to your right. Grab
some water arrows on this
roof, then crouch and jump
to the to the east side and
follow the street to the
round building on your
right. Wait for the two men
to finish their conversation.
Go around the building,
then right/north at the next
round building before you
reach the bulldog. Pass
some stone arches on the
right and go west to the
torch lit doorway beyond
the street lamp (figure 1).
Upstairs is 30 gold. Use the
sewer door here to get to
Helena Way.
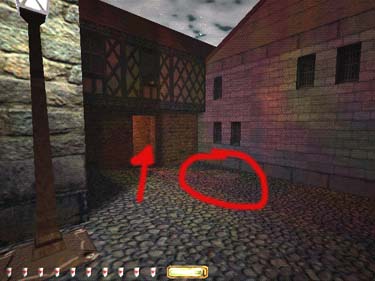
Figure 1
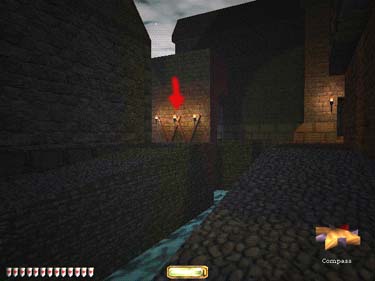
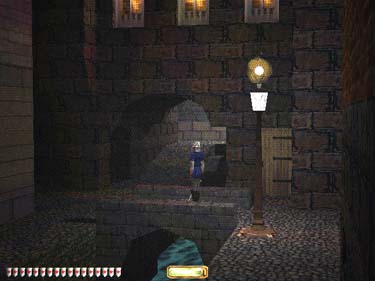
Helena Way
In the sewer, follow the
water until you come to an
odd "W" shaped torch
holder (figure 1). Directly
underneath this torch holder (in the water) is a purse worth 200 gold (figure
2). Across from
here is a low ledge near a
street lamp (figure 3) that you can climb up on to.
|
|
|
Figure 2
|
Figure 3
|
Wait until the coast is
clear, then climb out and
head west. Follow the moat
keeping the water on your
right until you cross over
the moat (figure 4) to Sparrow
street. Note that there is an Easter Egg in this area of the map. To see it,
check out the Secrets and FAQ page for this level. Now head north to Hill
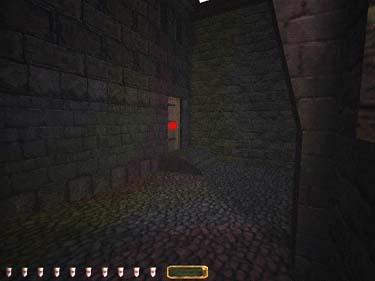
Street.
You can either go left here
to end up behind your
house, or go right and take
the next left before the
bulldog to get to the house
across the street from
yours. If you go right, you'll need to look
for a metal door on the right
in the alley (figure 5).
|
|
|
Figure 4
|
Figure 5
|
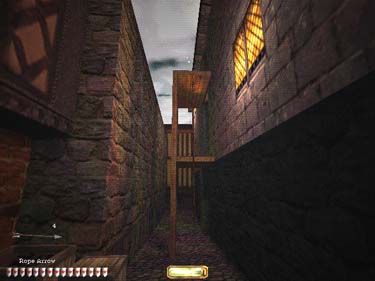
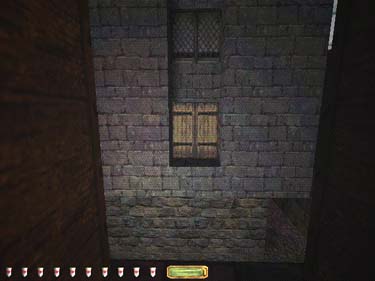
Home Turf
If you're behind the
house, use a rope arrow to
climb to the top of the fire
escape (figure 6) and go down
to your apartment on the
second floor. There's a cop
patrolling the stairwell and
one inside the apartment. You're closet is through the
door on the left. If you're in
the house across the street,
go to the top floor and jump
through the open window to
the opposite window ledge (figure 7). Open the shutters
and step into the bedroom.
|
|
|
Figure 6
|
Figure 7
|
Open the closet door
and toggle the right coat
hook. Go out to the hall and
make a right to the open
window. Head south under
the low arch, then duck
through the double wooden
doors on the right. Head
south, then east on Hill St.
Sneak south past the guard
onto Helena Way. Follow
the moat to a small bridge (figure 8), then head east to
an open area where the
moat curves south to west.
Hide north of the posted
cop, wait for the patrol to
pass, and the sentry to turn
his back, then run to the
wooden door just behind
him (figure 9). Go right through the
metal door and head east
across the Whipple St. gate
and across the next roof
(grab the gold bottle on the
ground here).
|
|
|
Figure 8
|
Figure 9
|
Market Place
Descend the ladder and
go south to the Market.
Benny and a hooker are
talking on the bridge.
Quickly, before the
conversation ends, run east
across the square to the
shadows on the far side. If
you wait until the
conversation ends, you'll
have to cross the hooker's
path to get across the
square. If you're brave, Benny has a purse worth 100 gold which you can
grab with a speed potion.
Climb the ladder (figure 10)
and go east across the
wooden deck.

Figure 10
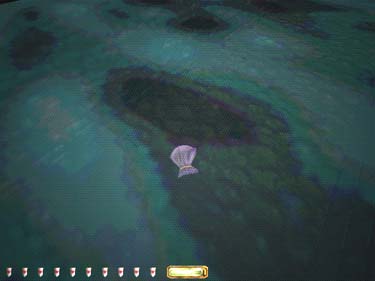
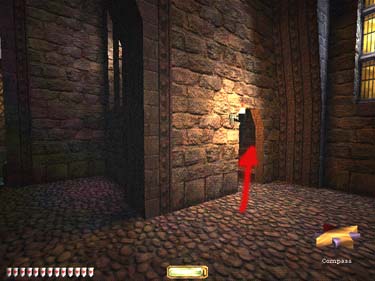
Shalebridge Road
Go south from the deck
to a wooden door on the
corner (figure 11). Upstairs is a
switch which opens the
gate to the south - but you
don't need it to be open. Grab the
coins and the key from the
table and go back
downstairs. Observe the patrols closely from here on forward - they are big and
thick, so you don't want to
tangle with them. You can choose to go west down the street,
then toward the Market to
grab a purse in doorway on
the right (figure 12).
|
|
|
Figure 11
|
Figure 12
|
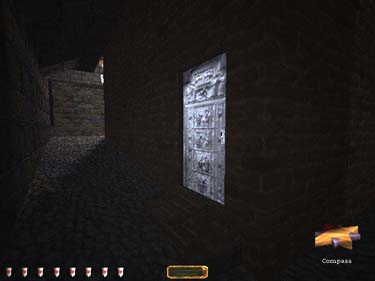
Otherwise, go north to
the torch-lit, double
doorway. Use the key you
just picked up to unlock the door. Go north on
Shalebridge Road. When you
reach the split, make a run
for the wooden doorway on
the right (leave yourself
time to pick the lock - it's quite
complicated to open). Go
upstairs, shoot a few moss
arrows on the boards and on the ground, jump
down and continue north to
the Shalebridge gate.
There are a few places to
hide along the way, or you
can cut through Lt.
Mosley's house with the
metal door - the shutters in
the kitchen open up. From
there it's a short distance to
the gate and the end of the level.
Back to Index / Back to Framed / Forward to Eavesdropping
Travel to: Keepers' Chapel / Strategy Index /
Thief-TheCircle.com (home)
/ Go Back
