
"Your plan is suicide! I'll think of a better way ... and I work alone..."
Other Level Resources:
-
Walkthrough (Part 2) - Go here for the
second part of this walkthrough.
-
Secrets & FAQ Page - Go here for pictures
of all the secrets in this level, as well as some frequently asked
questions.
TABLE OF CONTENTS (click a topic to jump to that section)
- The Plans Room
- Stage 1 Piece
(Bay C)
- Stage 2 Piece
(Bay A)
- Regulating
Round (Bay D)
- Stage 3 Piece
(Bay E)
Objectives:
- Learn how to use the Guiding Beacon to draw the Servants to the Mechanist
Cathedral
- Use the Guiding Beacon blueprints to manufacture a new beacon to connect
to signal slot B
- Adjust at least 7 of the 8 signal towers to use signal B (the Guiding
Beacon) instead of signal A (Karras' instructions)
- Don't let Karras find out what you're up to or he won't trigger the
servants
- When the rest of your goals are accomplished, get outside before Karras
seals up the Cathedral and detonates the Servants
Loot Information:
-
Requirements: None
- Available: None
Important Notes:
- The first part of this walkthrough deals with building the Guiding Beacon
and putting it in its place. Part 2 of this walkthrough deals with the
various strategies to enable each signal tower.
- There is no chance of disabling or destroying all the mech beasts in this
mission, so choose your inventory wisely when you enter the level. However,
explosive mines can be made throughout the course of the level, which will
aid you in your ultimate quest.
- There seems to be no possible way to fail the "Don't let Karras know
what you're doing" objective. This is very strange, but you needn't
worry about failing this objective.
The Plans Room
When you start, the overhead camera will spot
you no matter what, and
Karras will begin his
endless preaching - ignore
both for now (or listen to what Karras has to say if you're interested in the
storyline). Head
quickly north, stopping
to climb the machine on
the left for the frog egg
at the top. Continue
north past Bays B & C and
through the next
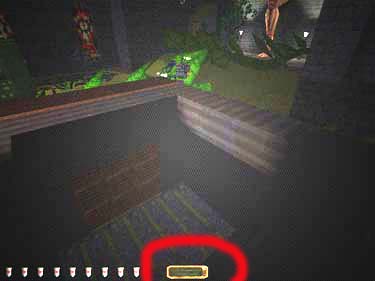
courtyard. Go right at the split, avoiding any
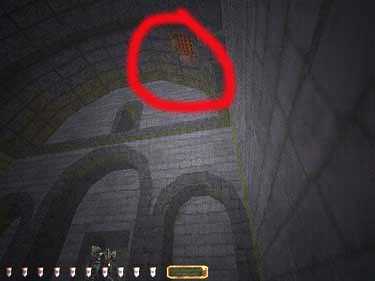
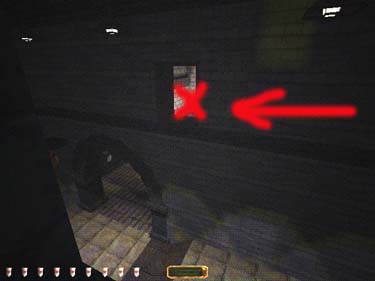
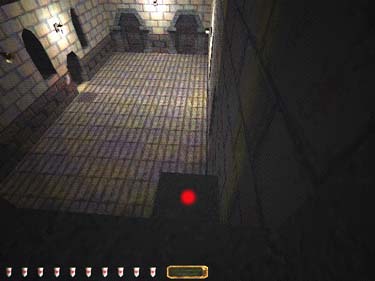
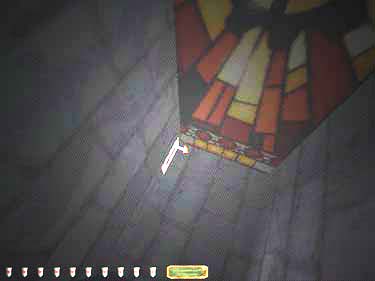
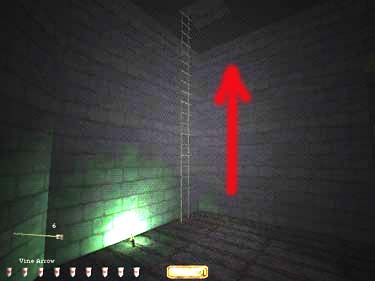
patrols. When you reach
the long hallway, look
for the grate in the
northwest corner of the
ceiling (figure 1) - a mech
beast patrols just beyond
the arch. Use a vine arrow
to climb up to the ledge,
go through the window and
counterclockwise around
the ledge to the other
window (figure 2).
|
|
|
Figure 1
|
Figure 2
|
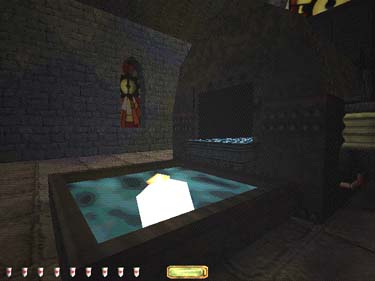
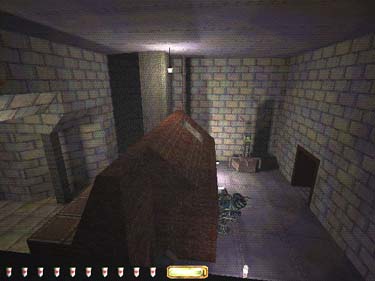
Just beyond you'll see
a few structures you can
use to jump down safely (figure 3). Beware the
camera through the door on
your immediate left, and
a patrolling spider. Cross
the hall to the west, use
the small shadows in the
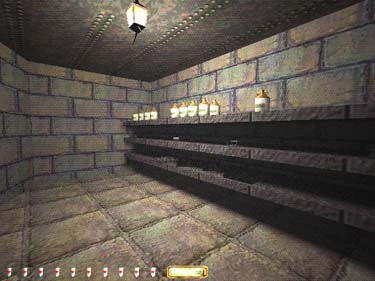
doorways to pick the
locks, and raid storage
rooms 2 and 3 (figure 4). For
now, get everything from
both, you can discard
things you don't need
later. Interesting how Garrett can hold all of this stuff, huh?
|
|
|
Figure 3
|
Figure 4
|
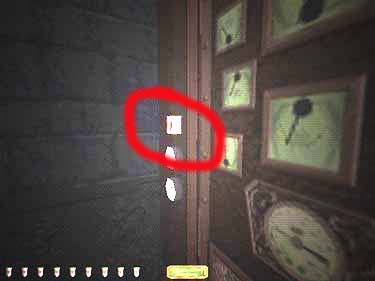
Go north to the next
hall and take a right to
the plans room. There's a
mechanist in the small
office on the south, but
he should stay put if
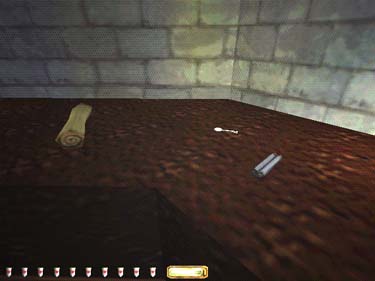
you're quiet. Get the
equipment from the table (figure 5) - the key will
open the safes against the
east wall which contain
plans for making flares,
mines, scouting orbs, and
most importantly - a
regulating round (part of
the guiding beacon
mentioned in the plans
you got from the desk).
Raid the each safe (quietly),
then look for a grate on
the ceiling near the south
office door (figure 6).
You'll need to shoot a
moss arrow up onto the
corner of the safe (to
quiet your landing), then
shoot a vine arrow as
close to the edge of the
grate as possible - you'll
need to jump from the
vine to top of the safe
cabinet (but you won't
make the jump unless the
vine is hanging as close to
the corner of the cabinet
as possible).
|

|
|
Figure
5
|
Figure 6
|
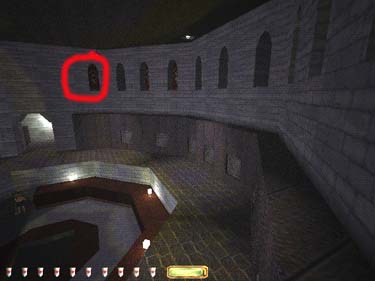
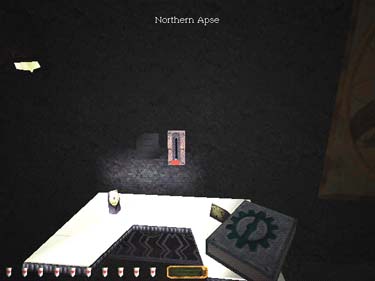
Go to the north end
of the cabinet and climb
into the last window (figure 7) - look for a switch near
the bottom (figure 8) that
will open a secret passage
in the middle of the plans
room floor (figure 9).
|
|
|
Figure 7
|
Figure 8
|
|
|
|
Figure 9
|
Figure 10
|
In the secret room, go
to the desk and read
Karras' ranting, then flip
the switch (this opens the
gate to the guiding
beacon system for later- figure 10 above). Go up the ladder
in the next room (switch
is on the wall next to it).
Emerge in the north
office, grab the frog egg
near the vent and head
south toward the elevator
up to Bay C.
Stage 1 Piece (Bay C)
The elevator to Bay C is near where you start. When you reach
the elevator, press the small button on the wall and ride up. Be careful
in this upstairs area - a mechanical spider is roaming around in the
dark room between Bay B and C. Your goal here is to use the bellowing
machine. Place a signal bolt in one part of the machine and place a
steel bolt in the other (if you don't understand what I've just said,
simply read the nearby book to learn exactly how to use the machine).
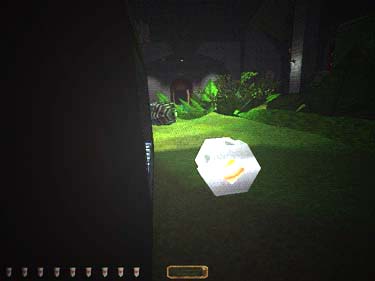
Climb up on top of the machine and pull the lever (figure 11) to create
the Stage 1 piece (figure 12).
 |
 |
| Figure 11 |
Figure 12 |
Stage 2 Piece (Bay A)
When you're finished
upstairs, go to the east
door of Bay A. You'll
need to sneak behind the
mech beast patrolling the
doorways, but wait until
his friend is heading
south. Run over to the
ladder of the rolling
machine on your left (be
sure to start moving the
second the mech beast
near the doors turns away
from you). Insert a steel
plate into the slot near
the ladder. You can climb
the ladder here and toss
the Stage 1 Piece into the
top bin without exposing
yourself to the light
(remember to use the 'r'
key if your 'use' button
doesn't work). If you
can't make this work,
climb onto the machine
and walk the ledge to the
dark spot (figure 13). Sneak
around the back of the
machine to the other
side, push the button (figure 14), then stay in the
shadow and lean around
to grab what has become
the Stage 2 piece (figure 15).
|
|
|
Figure 13
|
Figure 14
|
|
|
Figure 15
|
Regulating Round
(Bay D)
Head north, then west
toward Bay D. When you
reach the hall outside,
continue creeping north
(beware the metal grate
on the floor), past Bay D.
At the end of the next
hallway before you have
to go right, look for a
vine arrow on the floor
and a ladder in the corner (figure 16). Fire a
noisemaker arrow south
into the hall to draw the
mech beasts in the
doorway of Bay D out
into the hall. They should
look around a bit, then
park themselves out there - this will give you
more freedom of
movement once you get
to Bay D.
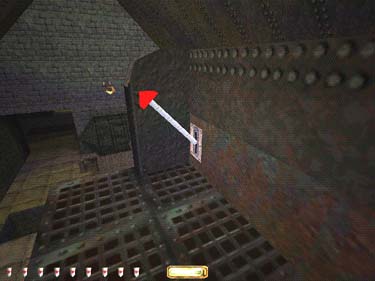
Go through the
Fluid Vapor Interchange
room to the catwalk. If
you look to the right,
you'll notice that you
can jump to the brick
building (figure 17) and
drop through the hole in the
roof, then the hole in the
floor (figure 18). You may
need to distract the mech
beast with another arrow
(just make sure you don't
jump on the metal roof
to far to the left). You'll
emerge at a relatively safe
place in Bay D (figure 19).
|
|
|
Figure 16
|
Figure 17
|

|
|
|
Figure 18
|
Figure 19
|
Beware a patrol in this
area, as well as several
small 'children.' There's
also a mech beast in the
small room to the north
on the other side of the
wall. Use the Linking
machine on the east side
of the room to make a
Regulating Round. Place a gauge and a Bantam
Node in the top bin. The
switches to operate the
Linking machine (and the
Sealing machine) are on a
platform on the west
wall. The elevator is at
the top of the platform,
with no floor controls.
You can shoot the
controls with an arrow to
lower the lift and risk
calling attention to
yourself, or look for the
metal grate and ledge
over the pool of water (figure 20). Grab the water
arrows in the pool, then
climb up to the ledge.
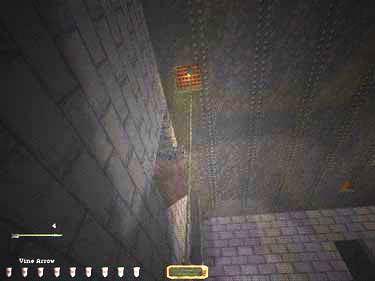
Figure 20
Leave the vine arrow for now -
you'll probably use it
again. Go down the hall,
grab the key on the left
and open the door.
There's a healing fountain
in the center of this
'turnpike' as well as
passages to several other
places including Bay E
and the North Apse area.
For now, go
counterclockwise to the
dark door on your right,
unlock it and emerge at
the control platform for
Bay D. Flip the switch for
the Linking Machine to
process the regulating
round. You can use the
elevator to get back
down, then shoot a vine
arrow into the overhead
grate for quicker access to
this platform (be careful -
the elevator can be a bit
noisy).
Stage 3 Piece
(Bay E)
When you're finished
in Bay D, climb up to the
ledge again and go to the
south exit in the turnpike.
You'll emerge on a
platform in Bay E
overlooking two cameras
on the west. Quick-save
here. Use the ladders to
reach the top platform,
then use the beam to
sneak over the first
camera and use a slow-fall
potion to jump to the
corner of the machine (if
the camera sees you it
will alert the mech beasts
in the east of Bay E). Run
to safety in the space
behind the right side of
the machine (figure 21).
With a little effort you
can mantle back and
forth over the back part
of the machine here. The
Stage 2 Piece goes in the
bin on the right. Flip the
switch and retrieve the
Stage 3 piece from the bin
on the left. This
may take a few tries so be
sure to quick-save first.
Also be aware that there
is a hiding place inside
the machine via the left
side.
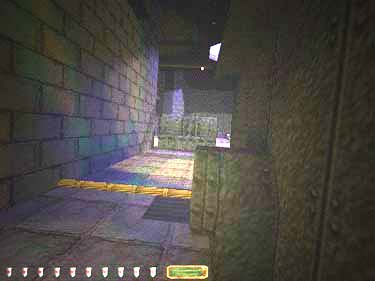
Figure 21
When you've finished in
Bay E, look for a switch
on the wall behind the
right side of the machine (figure 22). Use the secret
door to go back to the
west hall, then head for
the North Apse, whichever
way is safest.
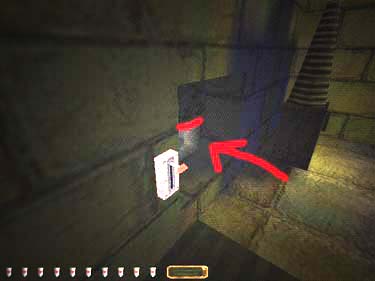
Figure 22
This walkthrough is continued in Part 2.
Back to Index / Back to Masks
Travel to: Keepers' Chapel / Strategy Index /
Thief- TheCircle.com (home)
/ Go Back
|